ProBuilder
J’ai travaillé pendant 18 mois sur ProBuilder, un plugin Unreal Engine pour modéliser des objets 3D directement depuis l’éditeur. L’objectif du projet est de fournir un grand nombre de fonctionnalités tout en conservant une simplicité d’utilisation.
Implemented features
Shape creation mode
3D Shapes
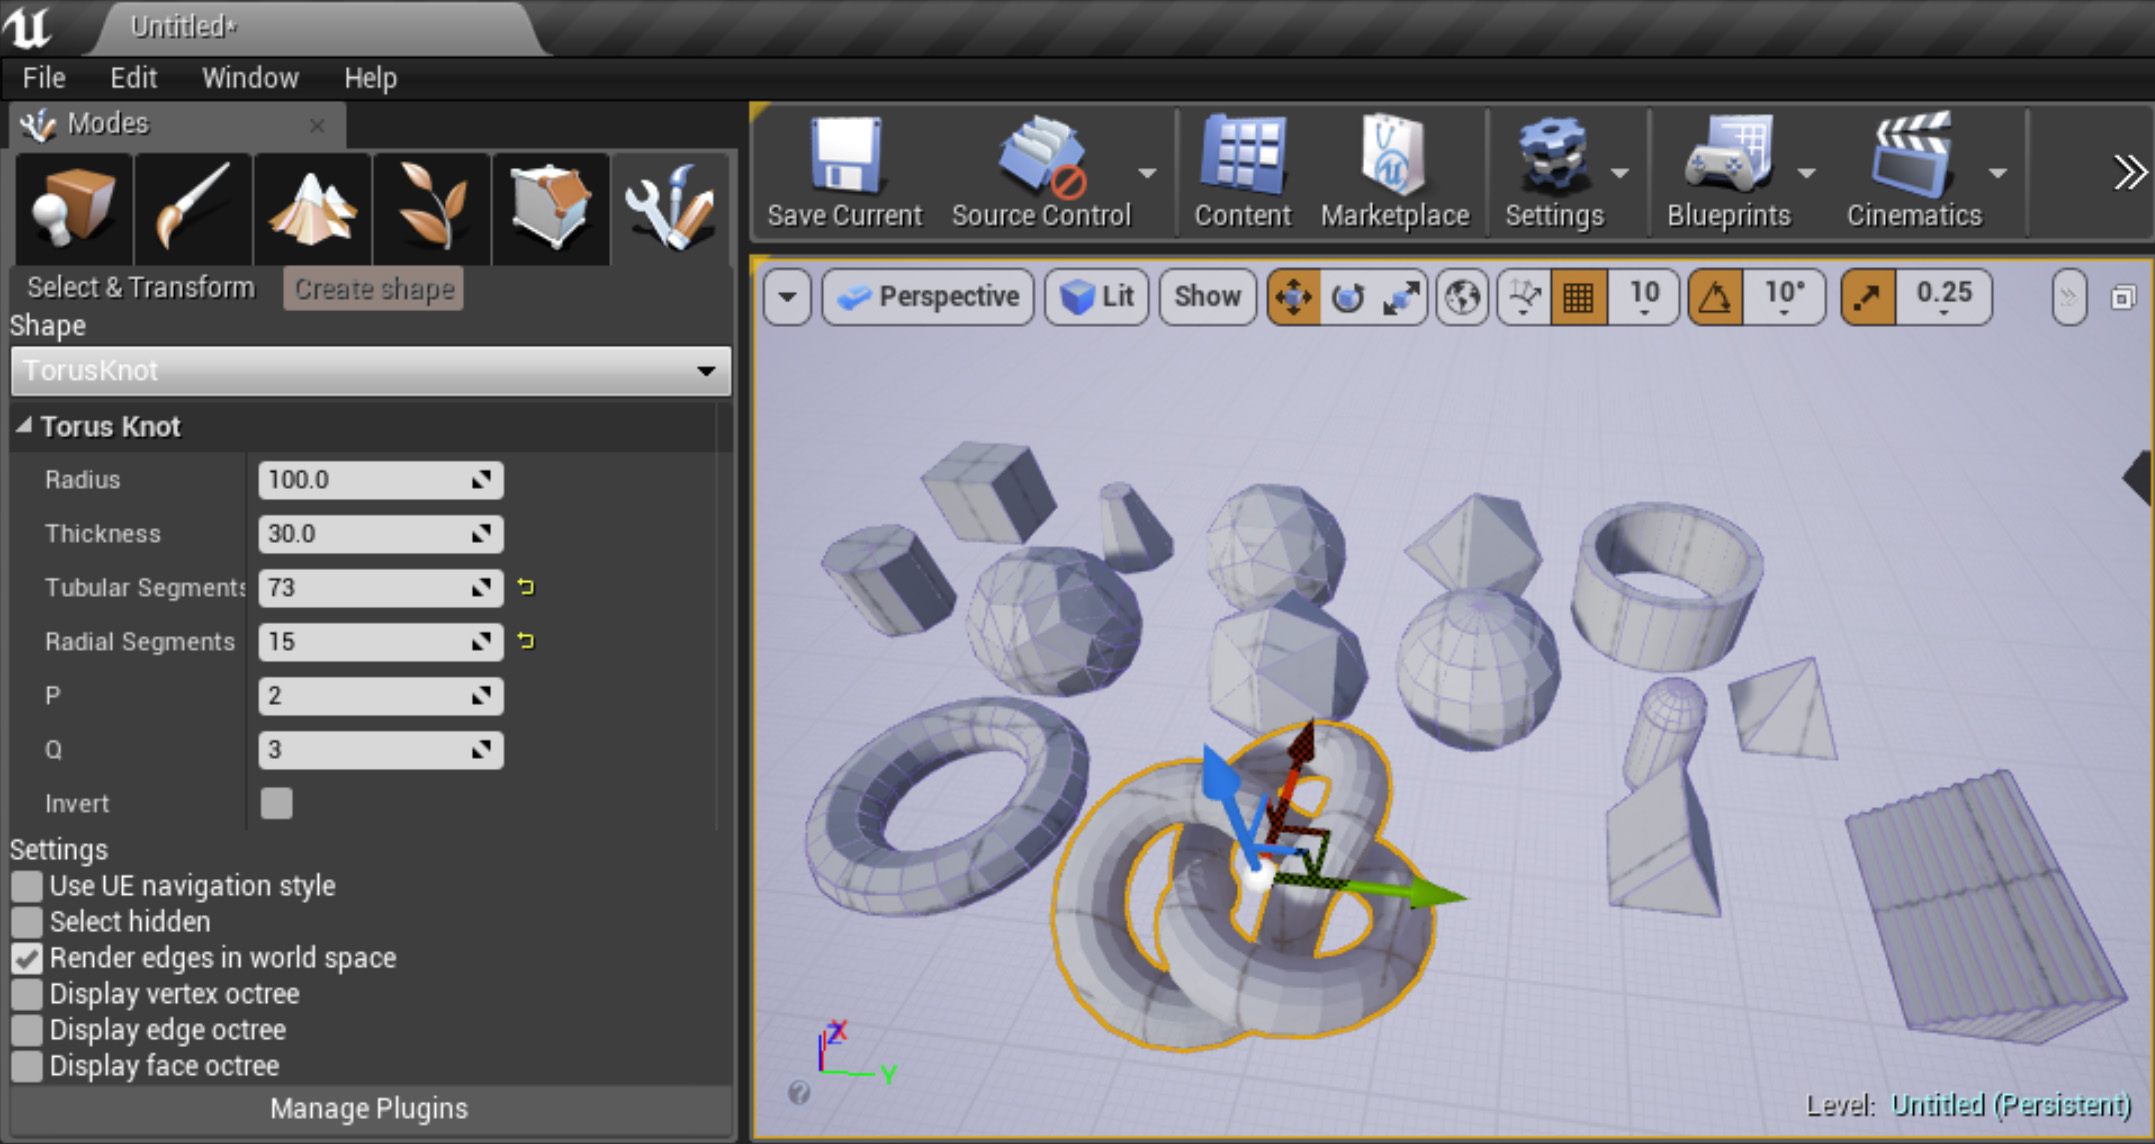
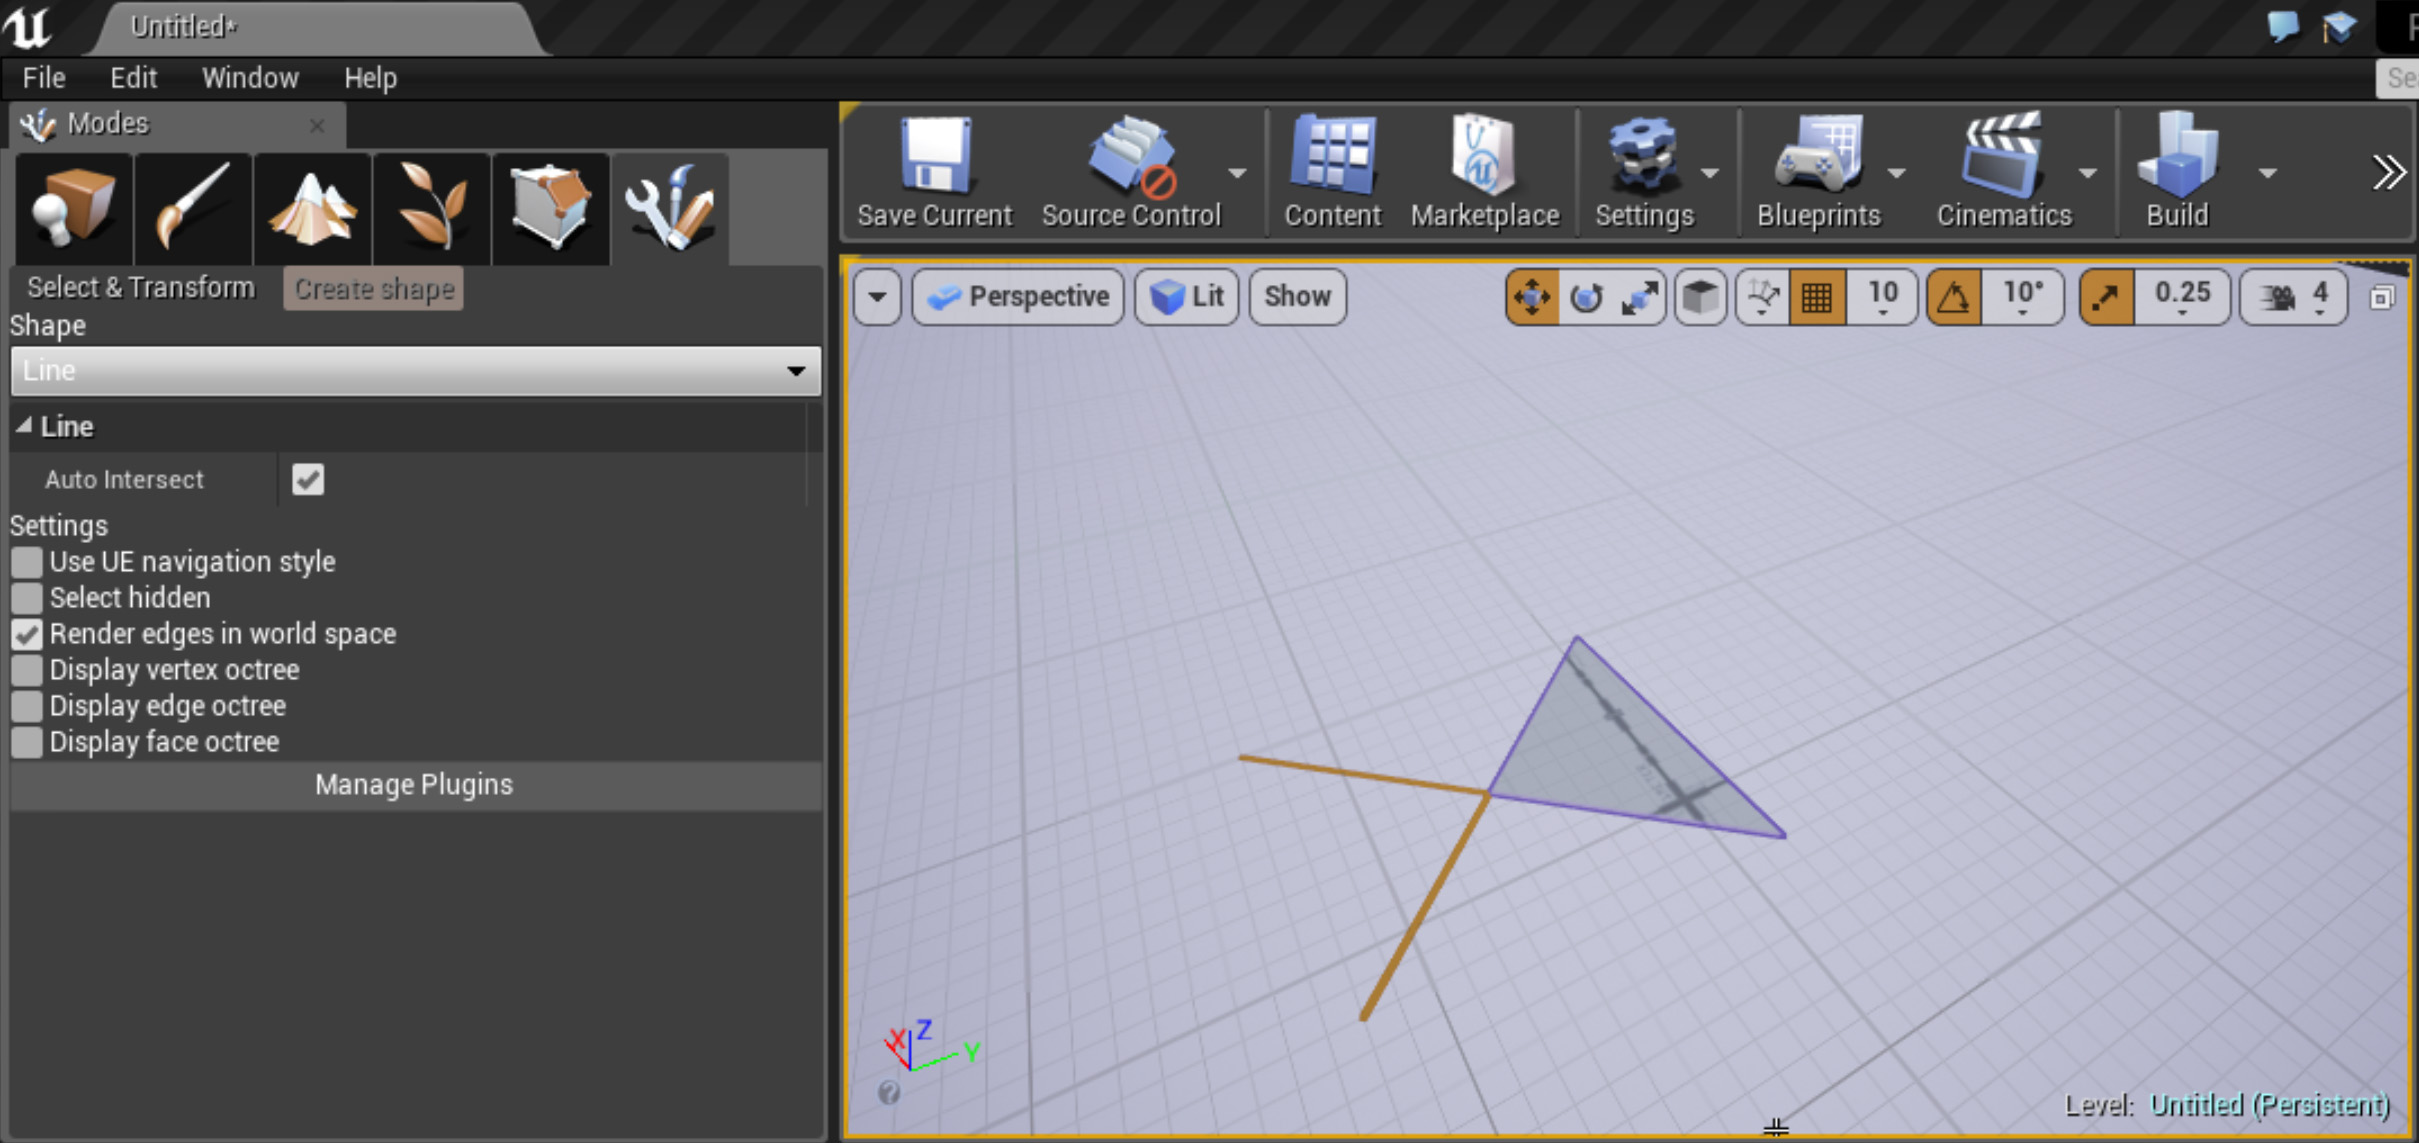
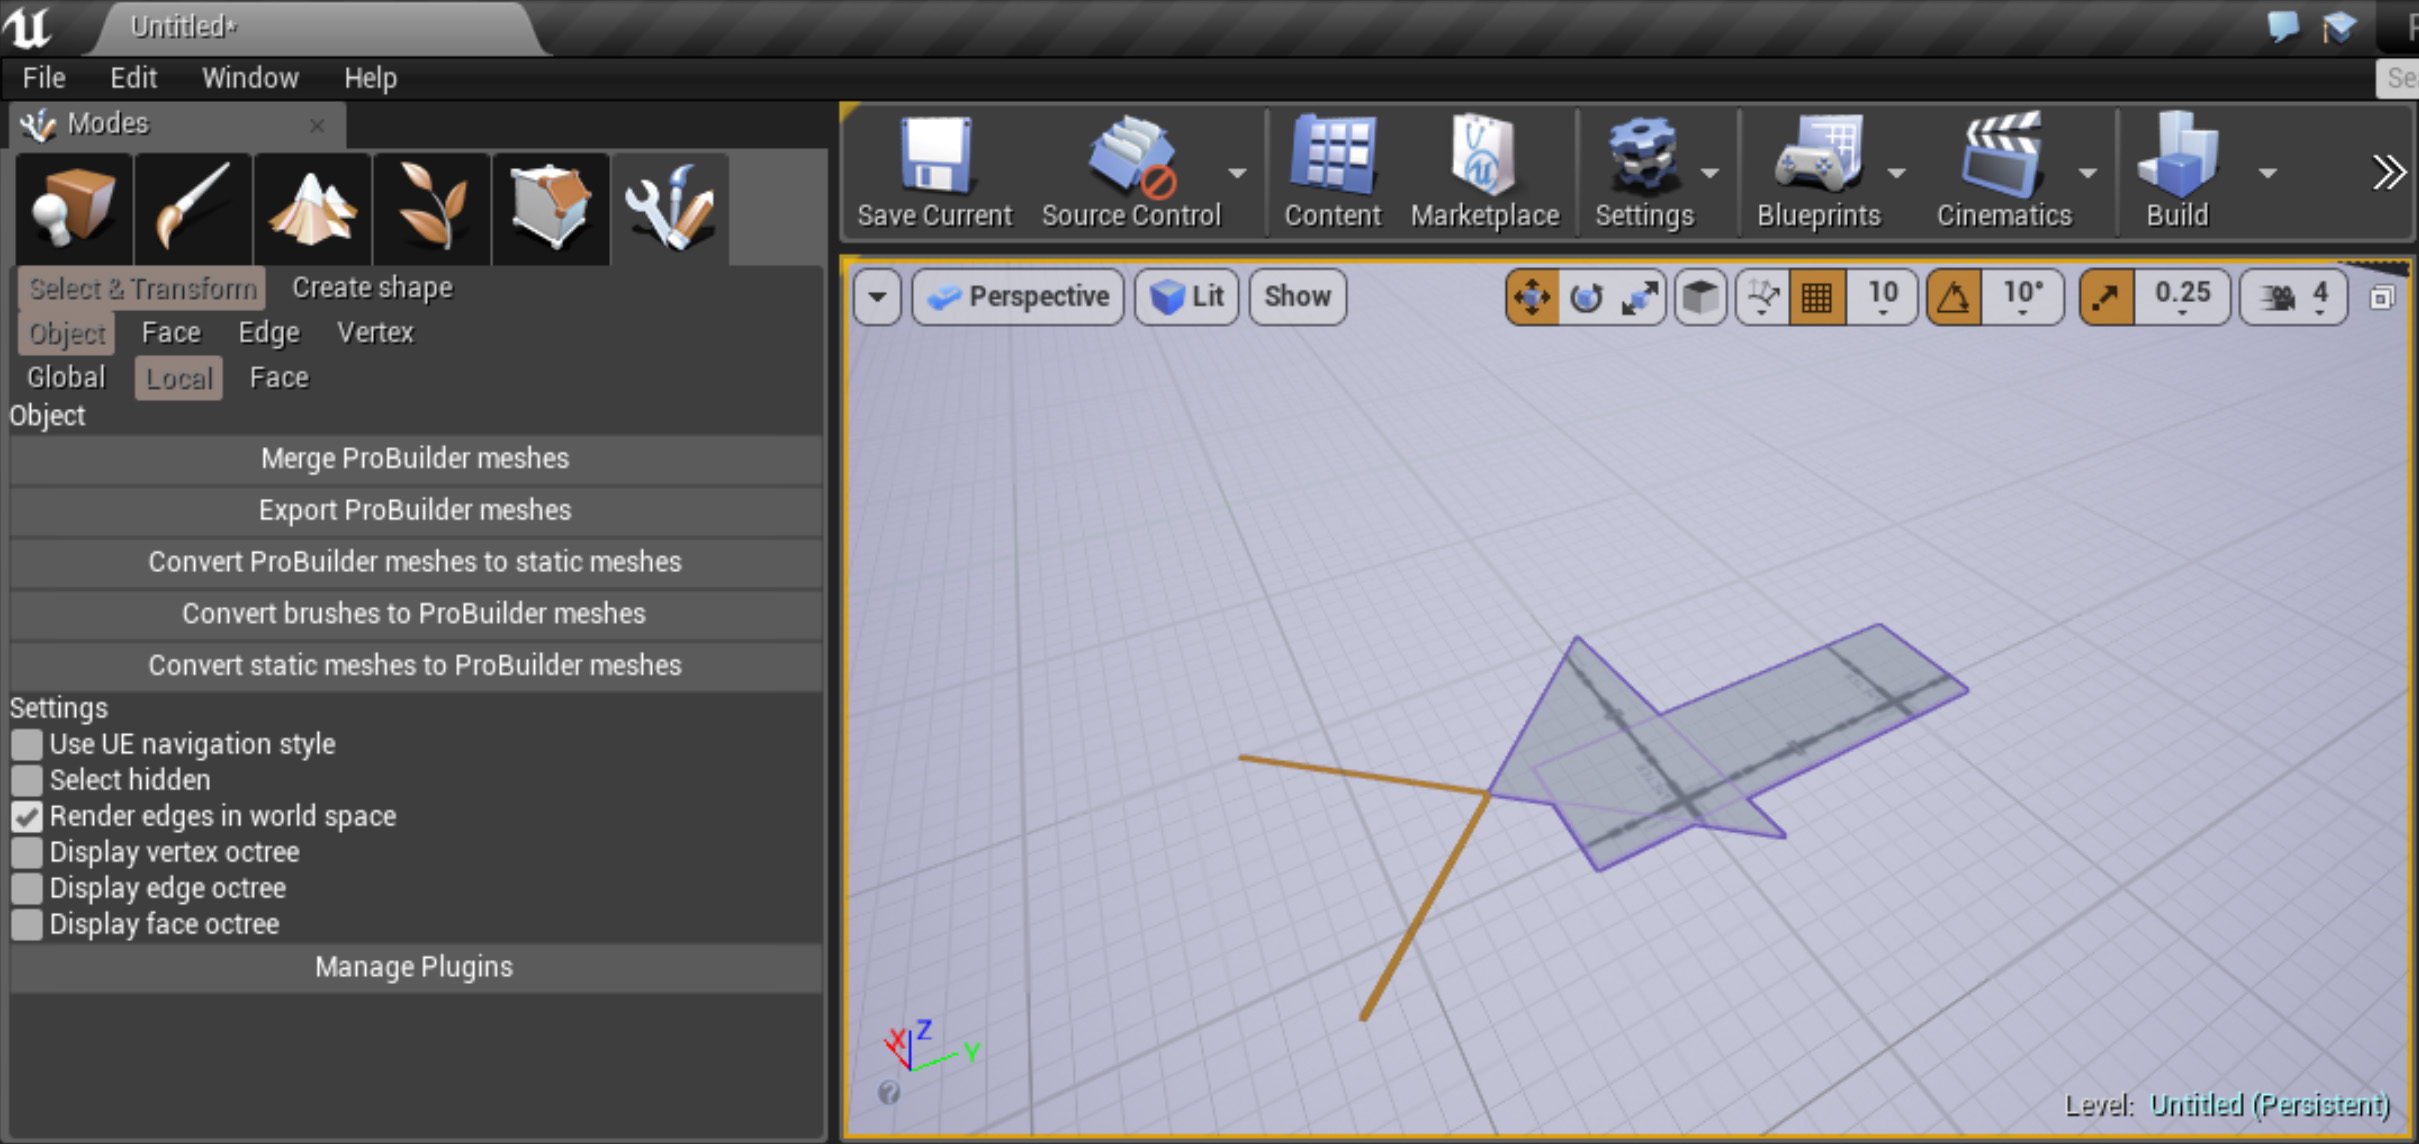
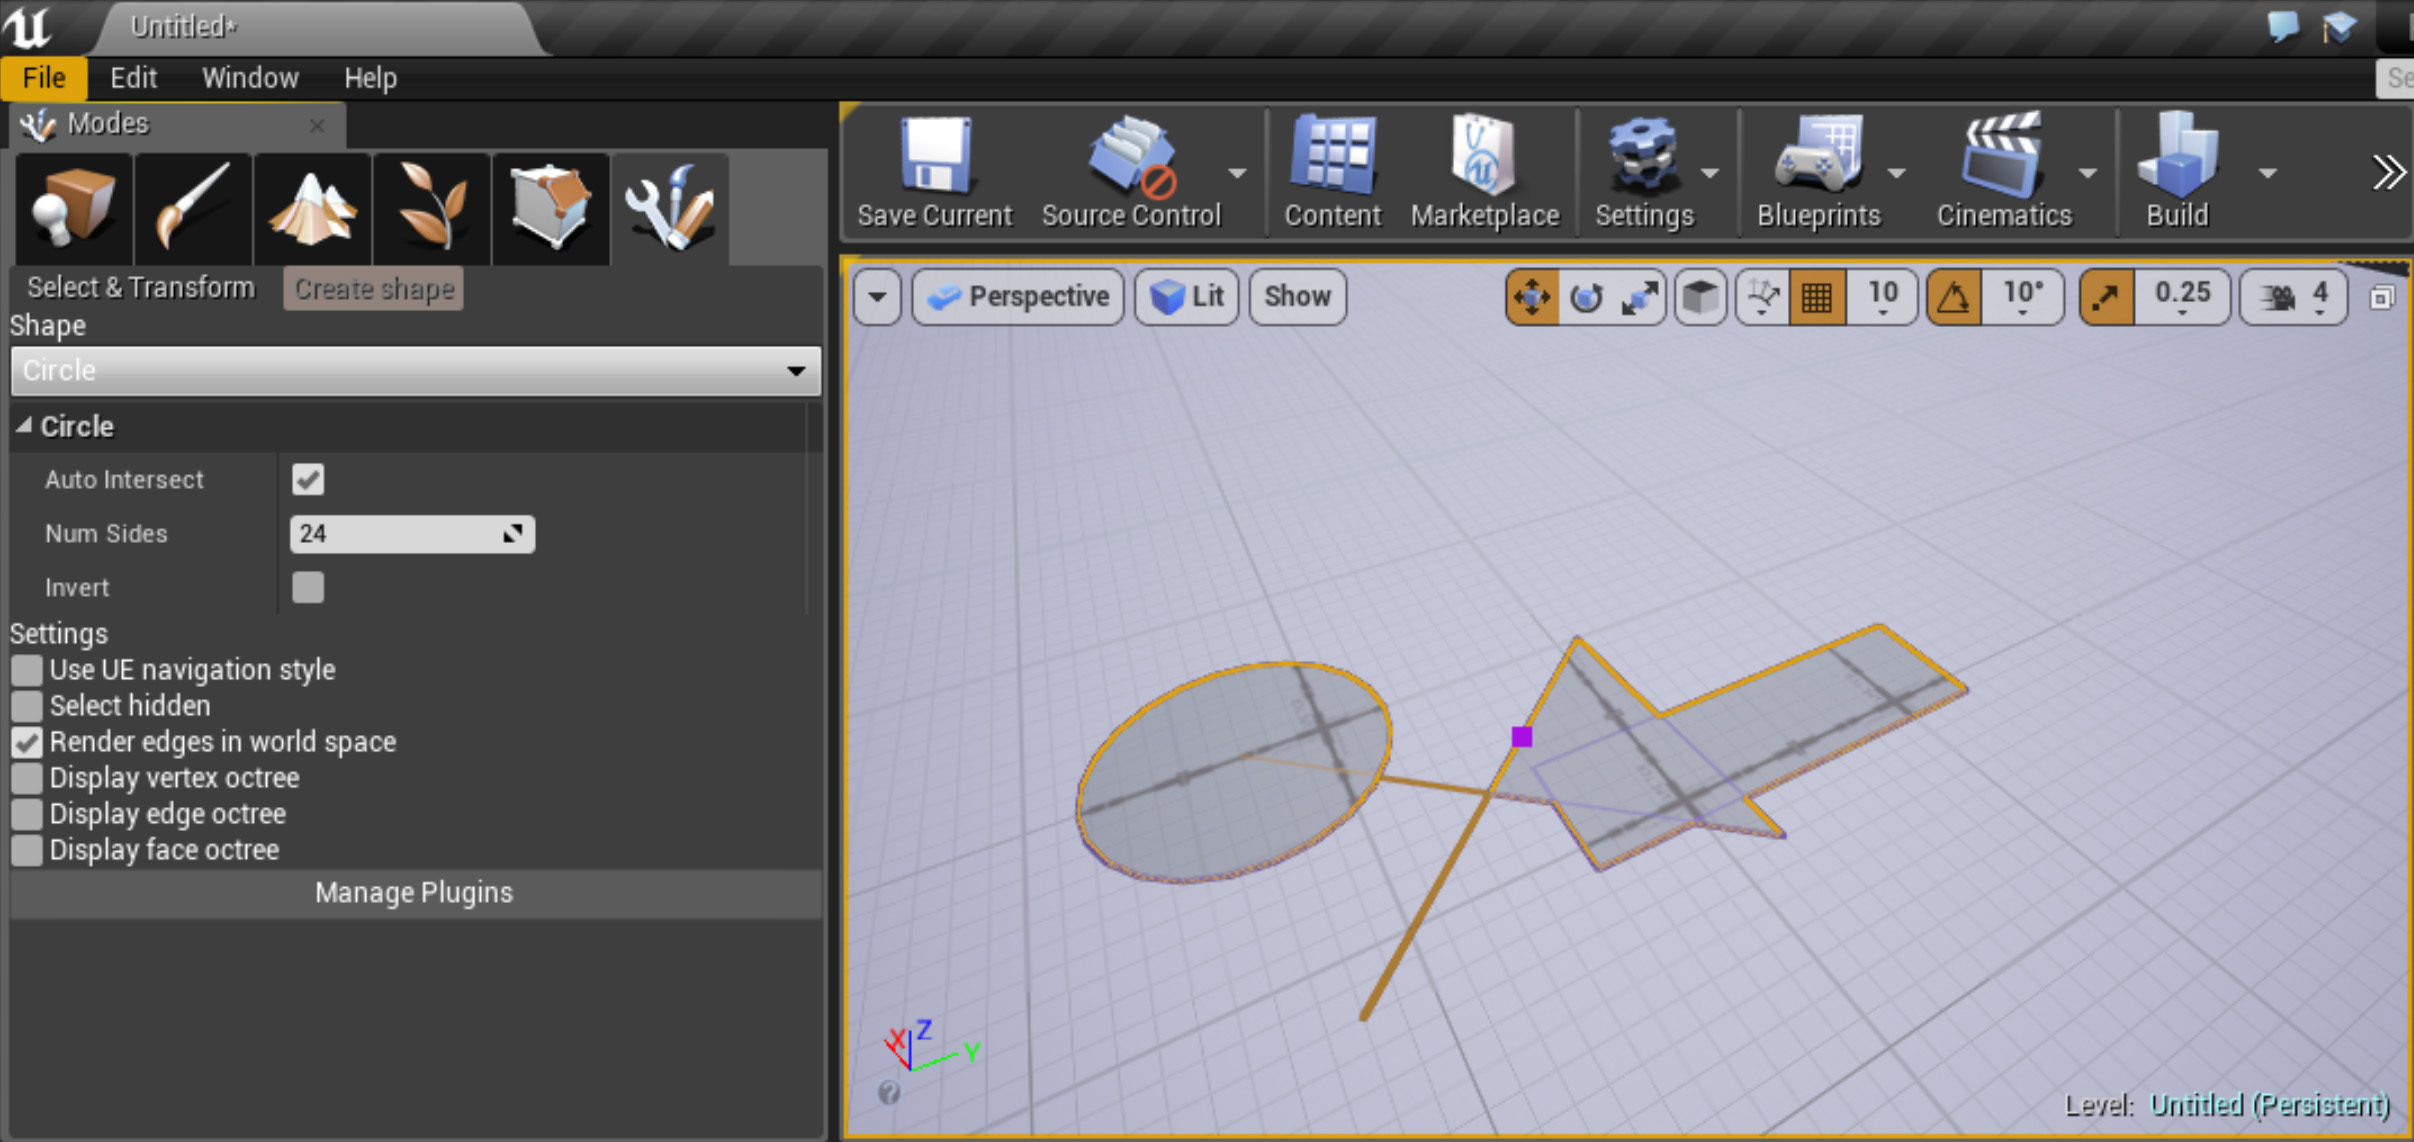
The shape creation mode enable to create with the mouse different shapes:
- Line
- Rectangle
- Circle
- Plane
- Ring
- Box
- Cylinder
- TruncatedCone
- Cone
- Dodecahedron
- Icosahedron
- Octahedron
- Tetrahedron
- Sphere
- Torus
- TorusKnot
- Tube
- Capsule
- Prism
- Pyramid
- Stairs
It is possible to precisely choose the dimensions and parameters of the current shape with the corresponding sliders.
2D surfaces
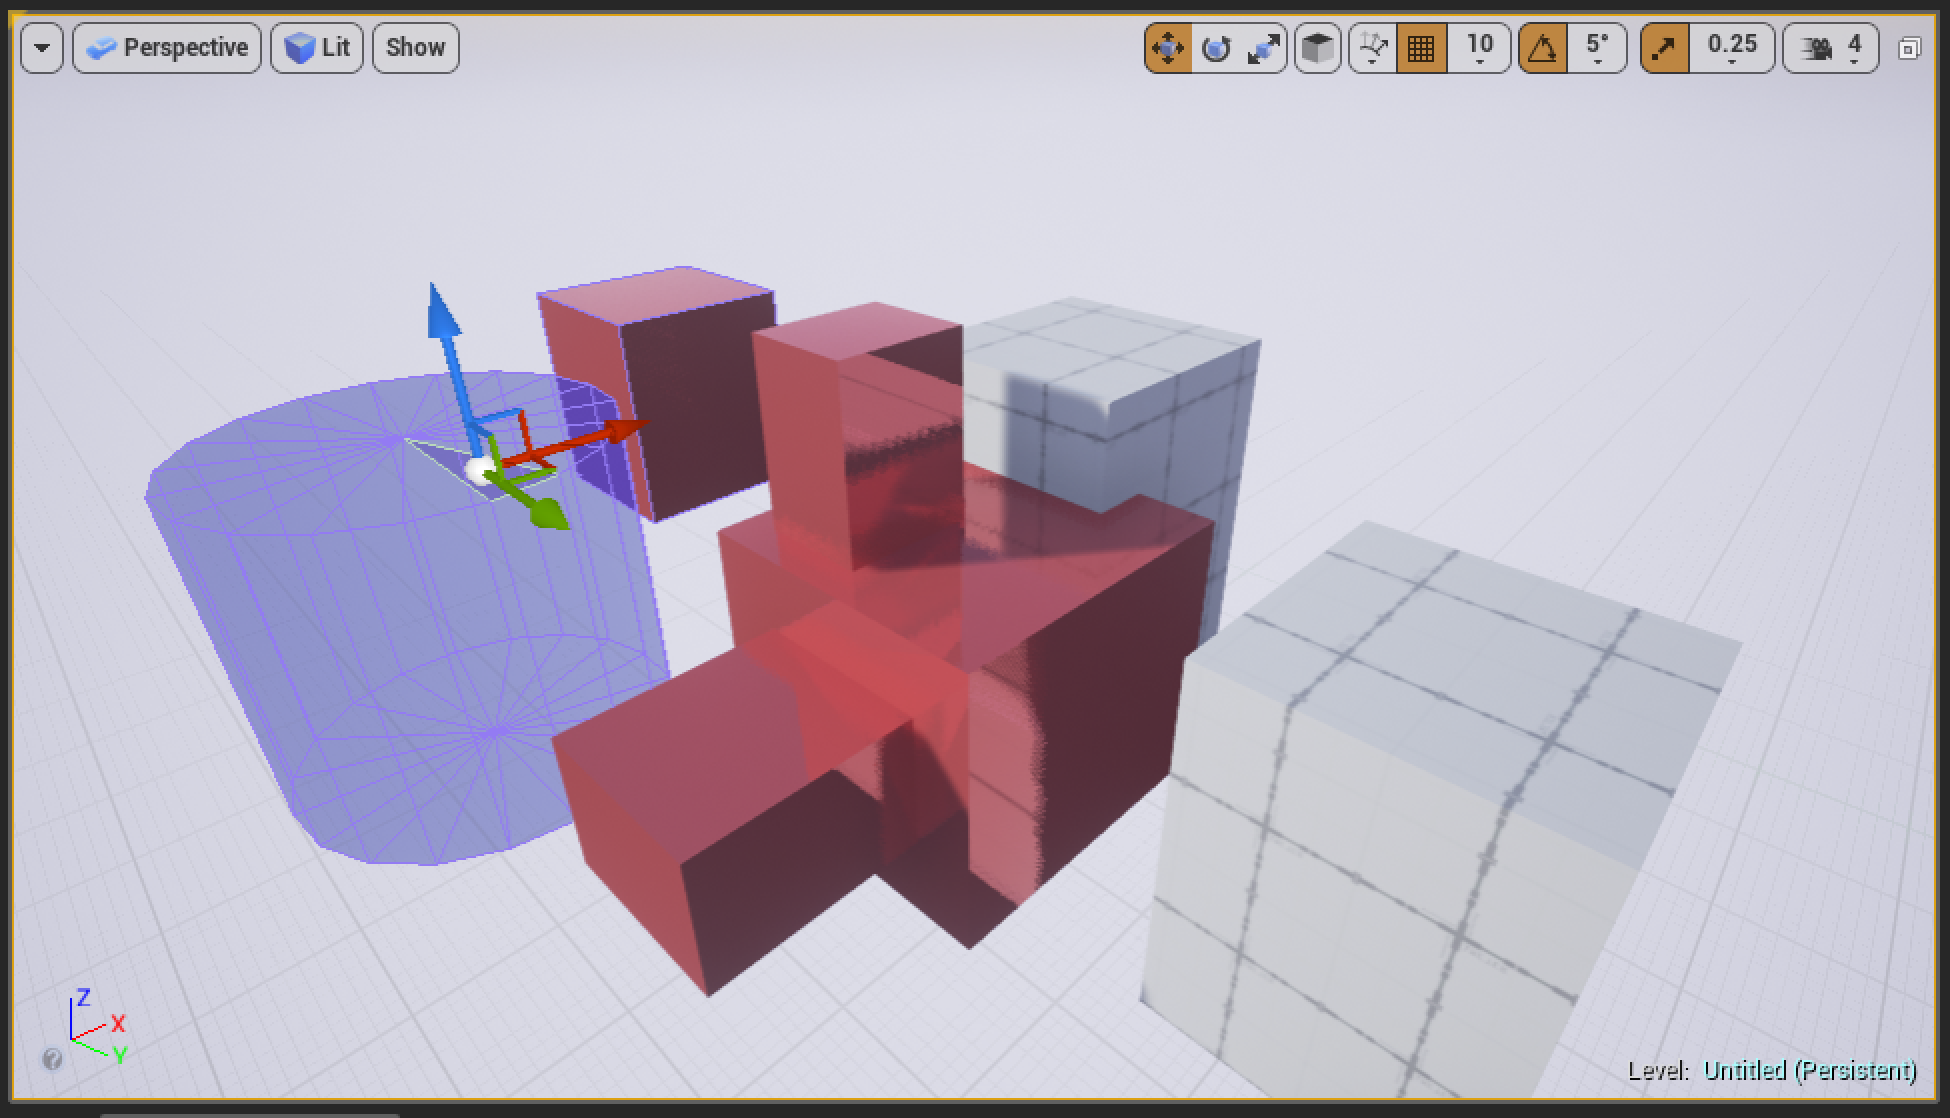
The line, rectangle and circle tool will automatically adapt and interesct with existing geometry.
For example, when drawing a rectangle over a cube, the rectangle will be aligned with the face on which the user draws, and its edges will be merged with the existing face edges.
Select & Transform mode
In the select & transform mode, there are 4 modes : Object, Face, Edge and Vertex mode.
General
It is always possible to delete the selected items, to detach part of the object (for example exclude a group of faces from one object and create another one from it) and to transform (translate, rotate or scale) the selected part.
Object mode
The object mode enables to change the selected object parameters (for example to increase the number of faces of a sphere), to regenerate a modified object, to convert the object to a Unreal Engine static mesh or to export it to an FBX file.
Face mode
The face mode has many features :

Extrudes and insets / offsets
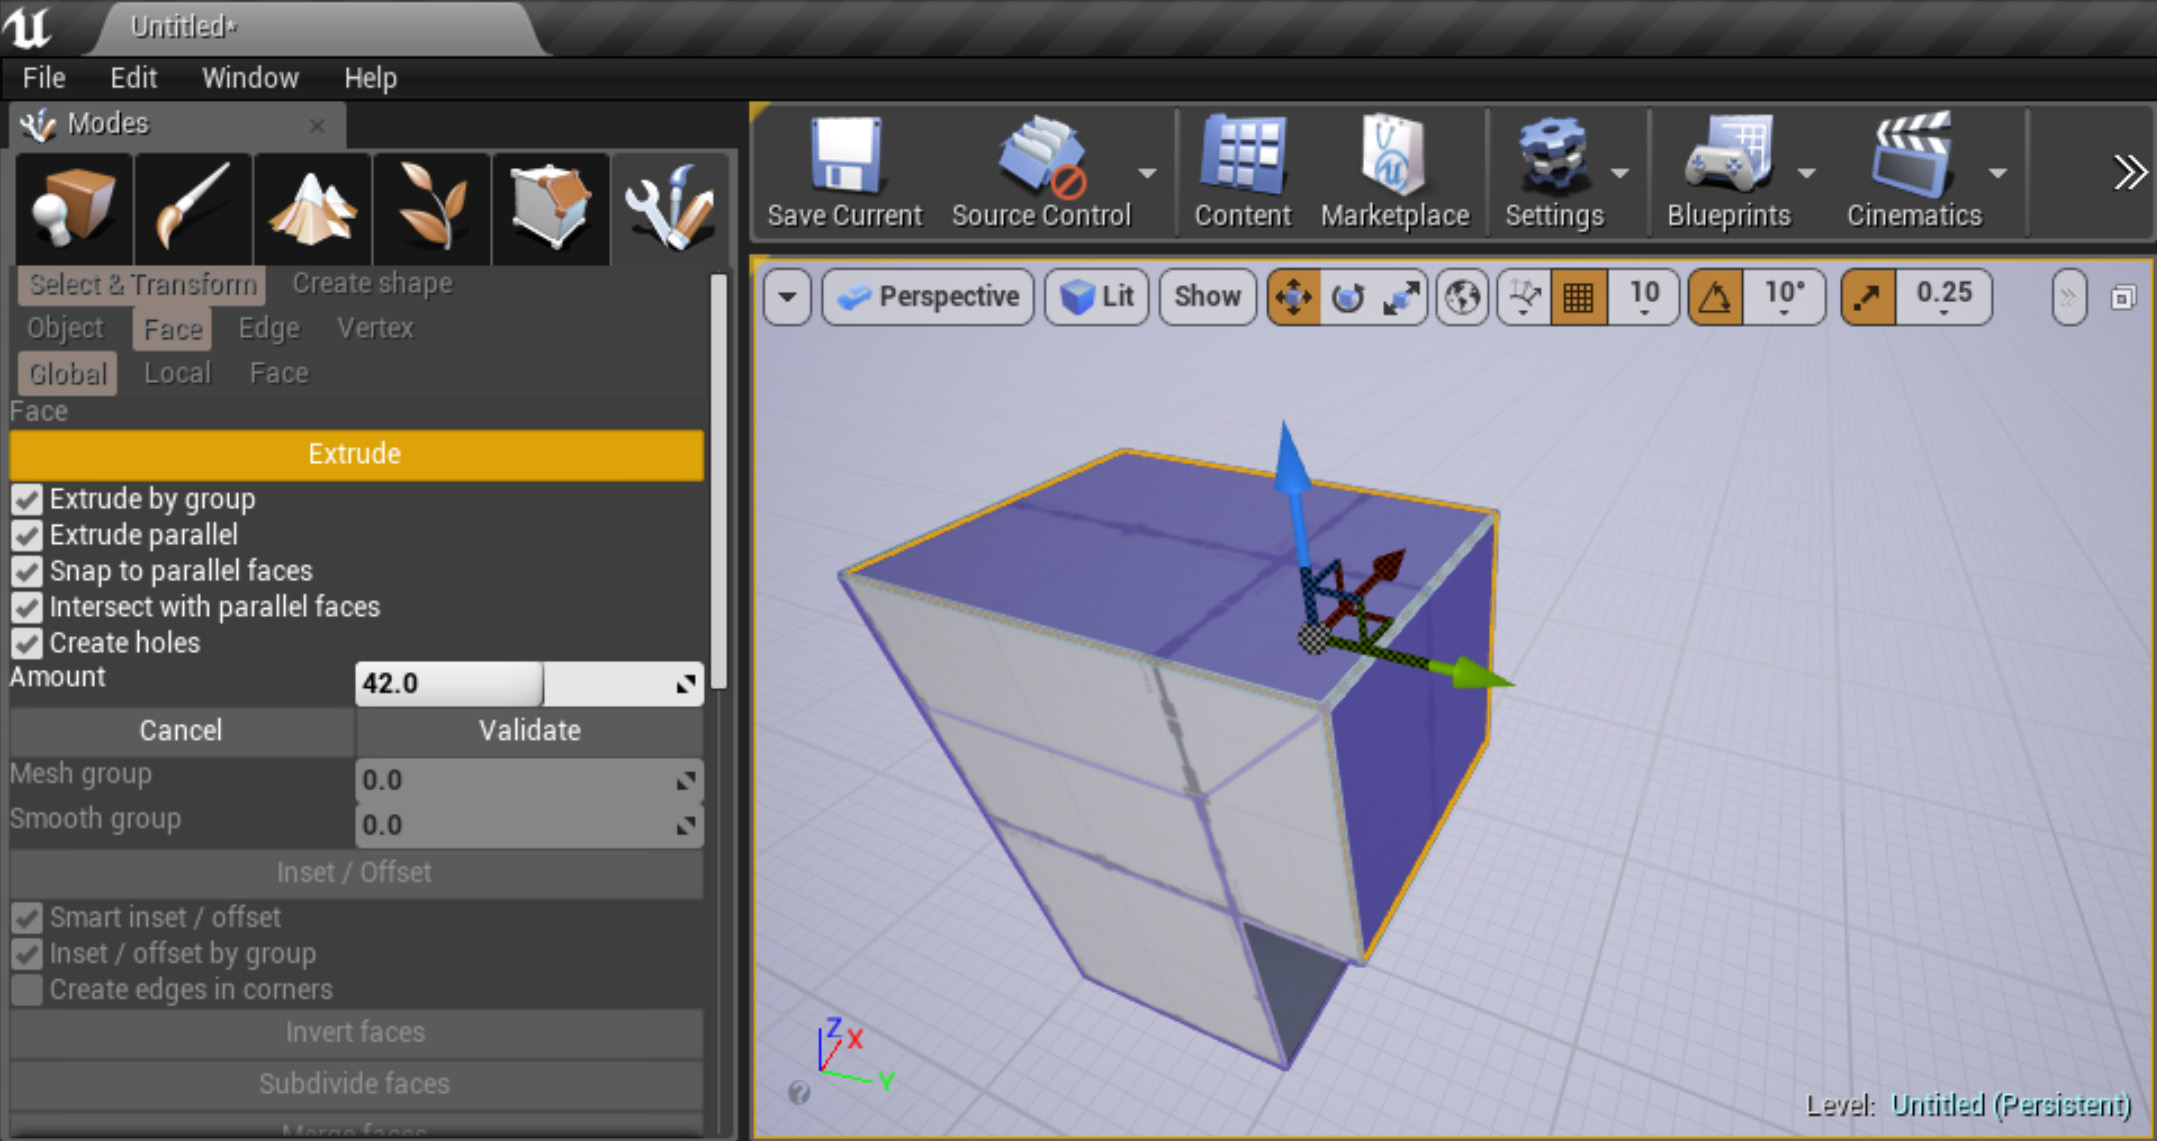
It is possible to extrude an object by shift dragging a selected face or group of faces (with the 3D widget/gizmo), or by using the corresponding buttons in the UI.
The extrusion can be grouped (the new extrusion will be in one block) or separated by face (each face will be extruded independently), and the extrusion can be parallel to the selected faces or not.
When extruding inside a cube, if the extrusion goes entirely through the object (and the option is checked) a hole is automatically created by cutting the destination face.
In all cases, the intersections between the new face and the existing faces can be computed to create new vertices where necessary.
An inset/offset button enables to create inner or outer faces.
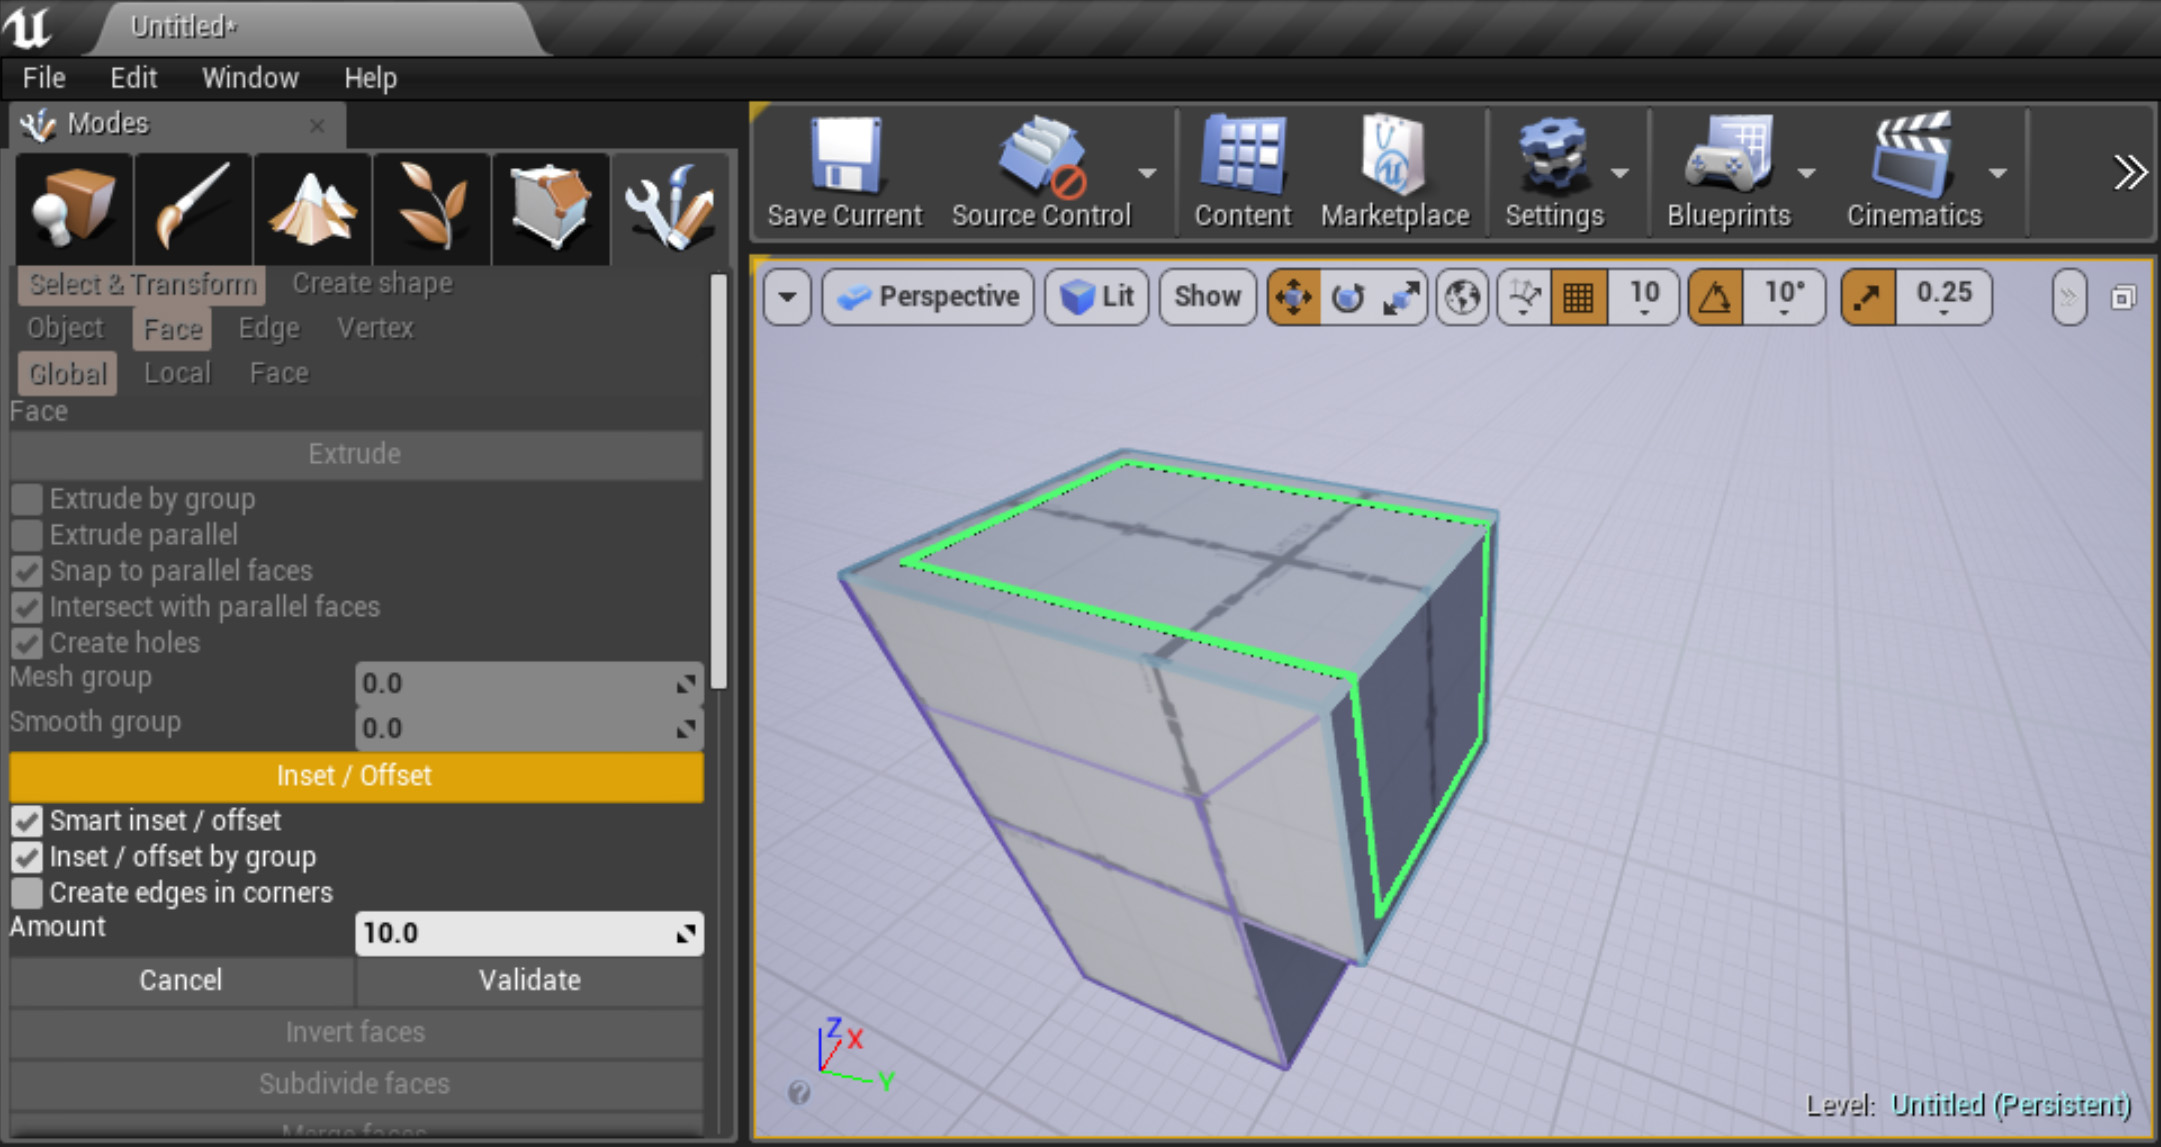
In the same way, intersections between new and old faces can be computed.
Invert, subdivide, merge, flip triangle face
It is possible to invert the face normal, to subdivide a face into mutliple faces (one face per edge), merge neighbour faces, and flip the two triangles inside quadrangular faces.
UVs
UVs are automatically generated when creating geometry.
The UI enable to modify the parameters used to generate those UVs:
- translate, rotate or scale UVs,
- tile, fit or stretch UVs the face,
- flip along U or V coordinates, or swap U and V coordinates,
- use world space or local space.
A full UV editor was developped (but not totally finished) to modify UVs manually (by translation, rotating, scaling UV vertices by hand).
Edge mode
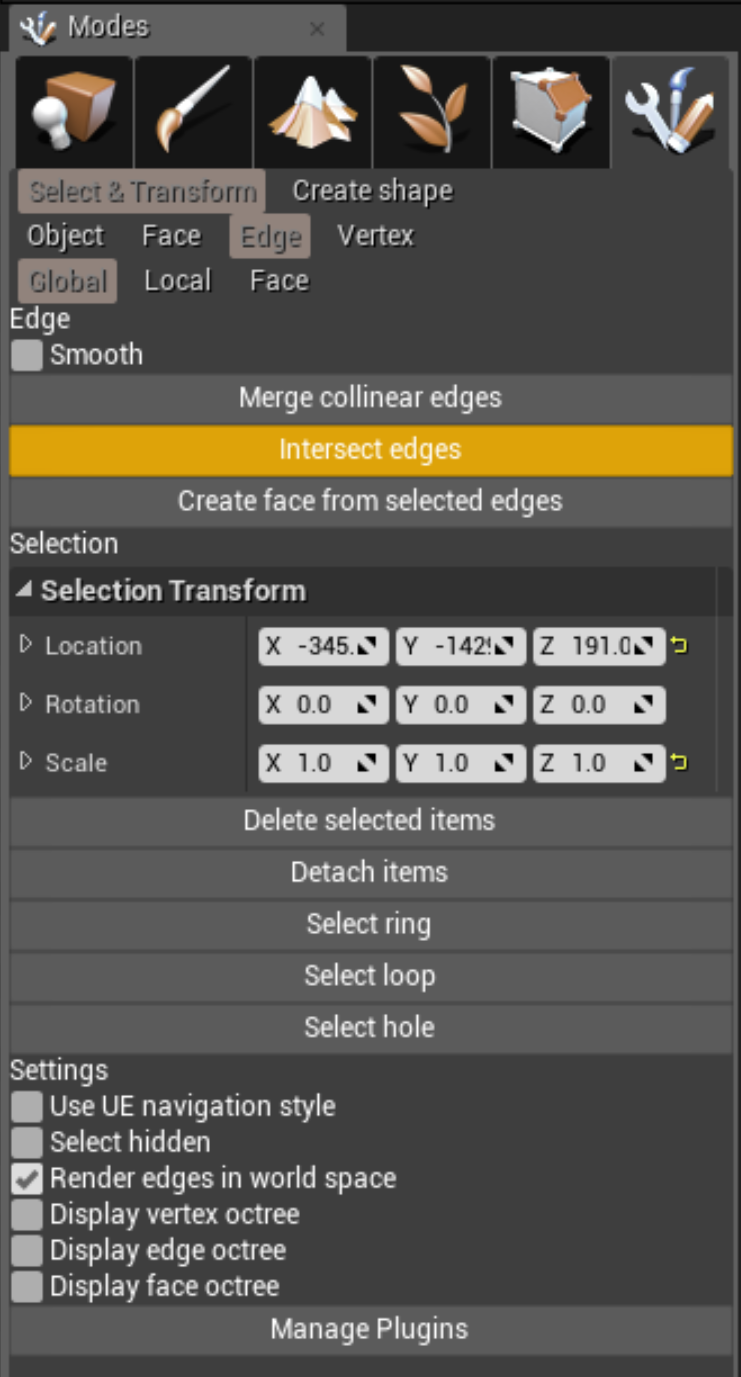
It is possible to merge colinear edges (and remove the remaining vertices), to intersect selected edges (and create vertices at the intersections), and to create a new face from selected edges (if edges are coplanar).
One can select edges by loop, ring or hole.
Vertex mode
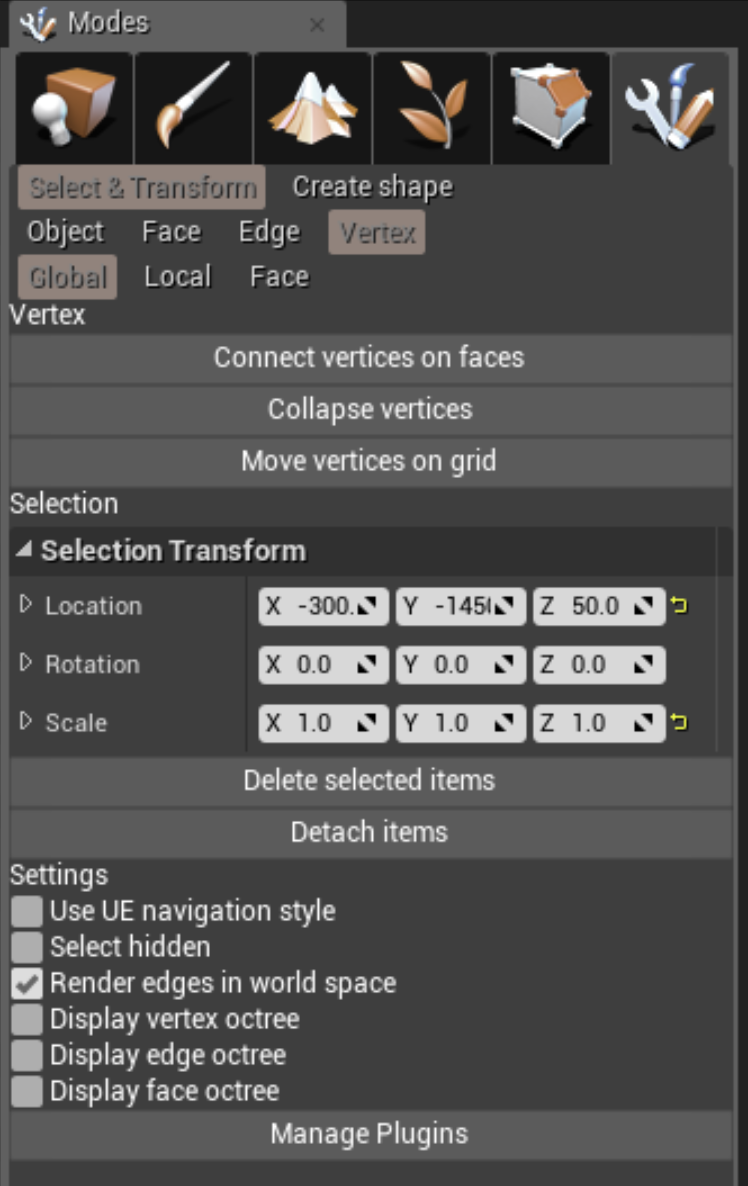
In vertex mode, one can choose to create a vertex inside a face and connect it to all other vertices to create multiple faces. The “Collapse vertices” button enables to merge selected vertices into a single one, automatically merging neighbour faces if necessary, keeping the geometry as clean as possible. “Move vertices on grid” enables to snap the vertices on the grid.
Retrospective
I stopped this project because Epic Games started releasing 3D modeling tools when I acheive a very big amount of work (18 months) but nothing was fully tested and ready to be released.
My first task was to learn and understand how Unreal Engine (and the editor) work. This was not easy since I did not know the engine before and the editor plugin side is not fully documented.
At first, I worked with C++ and I spent a huge amount of time compiling my entire project at every single change.
After about five months, I started porting my project to Typescript thanks to Unreal.js (ProBuilder is a c++ plugin running javascript scripts). This solved the compile time problem and I felt release of a heavy weight.
Since I gained freedom, I started developing complex features such as a fully featured UV editor and complexe 2D surface intersection algorithms. This took me quite a lot of time to implement, and basic tools were still not completely working.
I also worked on the in-game modeling feature, which reaquires a good knowledge of the game engine.
After almost a year, I started re-implementing basic tools with different algorithm to polish what was already working in early propotypes, but not ready to be released.
With hindsight, I know that I should have start building, testing and releasing simple tools one-by-one, instead of trying to directly create a fully-featured and advances 3D modeling and texturing plugin. The time I spent compiling C++ code, and working on the UV editor or other secondary features was the time we missed to release our product in time.
In conclusion, I can say that I gain a good experience in project management. This project reminds me to always be humble and to plan and do simple things first.
